Personalized Stationery for The Busy Girl
If you’ve been following for any length of time you already know I’m all about telling the people you share your world with what you like, love or appreciate about them every day. From the blessing branches we created for my mom’s birthday to the journal we created for my baby sister and her little girl letting someone know they’re special to you takes mere seconds and makes an impact in the lives of others. So the other day, I read this quote…
and something about it stopped me in my tracks. You want to know why? It made me realize I had totally forgotten to mail birthday thank you notes! I know! What the what, CoCo, like your bday was a month ago! I scrambled to find some preprinted stationery but came up empty handed. My search did yield blank note cards which prompted me to make my own thank you notes. They’re super simple to make and Busy Girl approved. Here’s a look at how you can make your own set of personalized stationery too…
SUPPLIES:
Blank note cards and envelopes
Colored pencils
#2 Pencil
Computer, printer, printer paper and ink
Stencils, stamps, ink or other card embellishments if desired
STEPS:
These cards are so easy to make honestly you can do them several ways. Most of the time you can find stationery sets like these at your local craft supply store with the envelope included.
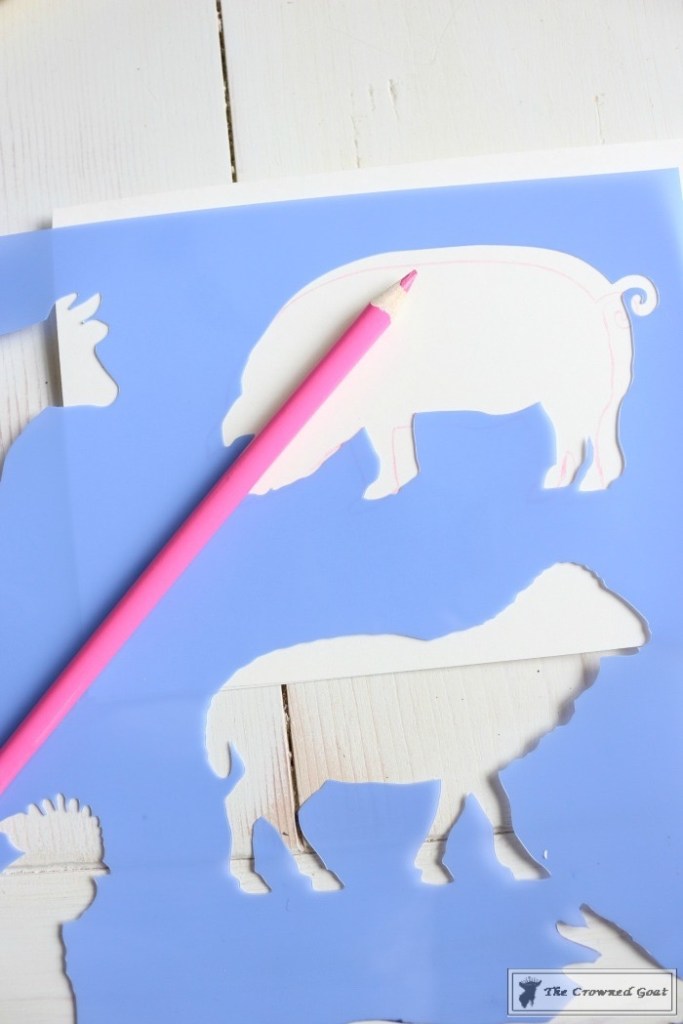
One way is to use stencils like these farmhouse stencils I picked up at Hobby Lobby for around $3 and trace around the animal of your choice with a colored pencil.
After you’ve completely traced the outline of the animal, in this case a pig, then begin shading.
For this one I used a stamp and gold ink to leave a message on the inside that says, “Thanks so much.”
But you can also just kick it old school hand write the words “Thank You” on the outside too.
Here’s the same pig stencil cut from gold glitter paper if you have a friend or family member that likes a little bling.
If you want to create a look of calligraphy but you don’t know how to actually create calligraphy you can cheat a little by using the easy transfer method.
- Use your computer and a program like Word to create a monogram and print out using your home computer.
- Flip it over to the back and heavily shade with a number 2 pencil.
- Flip it back over with the computer ink side facing up and place on your card or paper.
- Next, use a ball point pen to outline each letter.
- Once you’ve outlined each letter, set paper to the side and your letters should be transferred to the card paper.
- Fill in each letter with a fine tip marker or gen pen.
Finally, you can just use whatever stamps or ink you have on hand. This is my favorite crown stamp…
and of course, I have to have a goat stamp too ha ha.
If you really want to step it up a notch, consider using a wax seal on your envelopes. My bestie S got me this one as a birthday present a few years ago and it’s always fun to use.
If you’re making an entire stationery set for someone it would be fun to include a wax and seal and really customize a gift basket for them.
I know these cards are late and I feel terrible about it, truly I do. I had to stop myself from writing, “I’m so sorry this is late!” in the very first line. The truth is we’re all busy with overly packed schedules and sometimes things get missed. Thankfully, the same people that were thoughtful enough to send you the gifts in the first place are probably also willing to extend you grace.
After all, it’s what’s written inside these cards that make all the difference.
You can find other creative ways to design note cards by visiting these sweet Southern ladies…
2 Bees in a Pod – How to Make a Watercolor Wreath
Slightly Coastal – How to Create Custom Monogram Stationery at Home
See you guys back here tomorrow. I’ve been online a lot lately looking for boho chic items for Hawk’s Ridge and accessories for our home office makeover so I’ll share all of the fun things I’ve found around the web. Until then, I’ll see you on Instagram, Facebook and Pinterest.
Many blessings,
CoCo


Coco! I love all of your stationary ideas! I am going to go on the hunt for some stencils. I forgot about all the things you can do with a stencil besides paint it on something. Thanks for reminding me!
You are so sweet to include my little tutorial. Thanks bunches. 🙂
Nancy
You’re so welcome Nancy, I love your thank you cards. They’re classic coastal style – totally your jam and mine too! Hugs, CoCo
CoCo – we love your creativity and style. Your cards are heartfelt and the recipients will know how much you value them! We can’t thank you enough for sharing our watercolor thank you wreaths! we value you too!
You guys are the best! Thanks so much for all of the birthday presents and for spoiling me. Heading to the post office 🙂 Love and hugs, CoCo