French Country Script Ornaments
We’re sharing how to create French Country Script Ornaments today as part of the Lifestyle of Love blog hop hosted by the always fabulous, Cindy of County Road 407!
If you’re coming over from Lora’s blog, Lora Bloomquist Create and Ponder, welcome, we’re excited to have you here.
Lora has such a unique vintage style which inspires me all the time, I can’t wait to see what she has for us today!
It’s hard to believe our Lifestyle of Love group has been together for years now. Here’s a list of all the things we’ve created together so far…
- How to Create Farmhouse Crocks from Paint Cans
- Easy Tips for Styling a Bookcase (one of the most popular posts from this series)
- Simple Ways to Organize the Pantry with Baskets
- Simple Tips for a Fall Cider Bar
- Easy Ways to Decorate with Frames
- DIY Farmhouse Tool Caddy
- Jadeite Inspired Cupcake Stands
- 8 Easy Tips for Styling a Dining Room Hutch
- 11 Architectural Salvage Decorating Ideas
- Simple Chalkboard Decorating Ideas
- A Beginner’s Guide to Chair Upholstery
- How to Clean Vintage Pillowcases

A Moment of Inspiration at the Retreat…
Earlier this month, I hosted a creative retreat at home with my Mom and sister. Our days were centered around a leadership summit we live streamed from my Dad’s media room.
During our breakout sessions, we ate yummy foods (goat cheese on everything, please) and talked about our goals, dreams, and plans.
It was so much fun!
One topic that kept coming up over and over again was just how fast summer had flown by and how to begin preparing for the holiday season now.
I shared my plans to work on one project or ornament each month in the days leading up to Christmas so I could enjoy all the good things the season has to offer instead of scrambling at the last minute.
Well, that conversation led to the realization my parents would be hosting multiple holiday events at both Loblolly and Bliss Barracks.
While my Mom is still on the fence about how she wants to decorate Bliss Barracks (it’s very traditional), she’s committed to having a French Country Christmas at Loblolly.
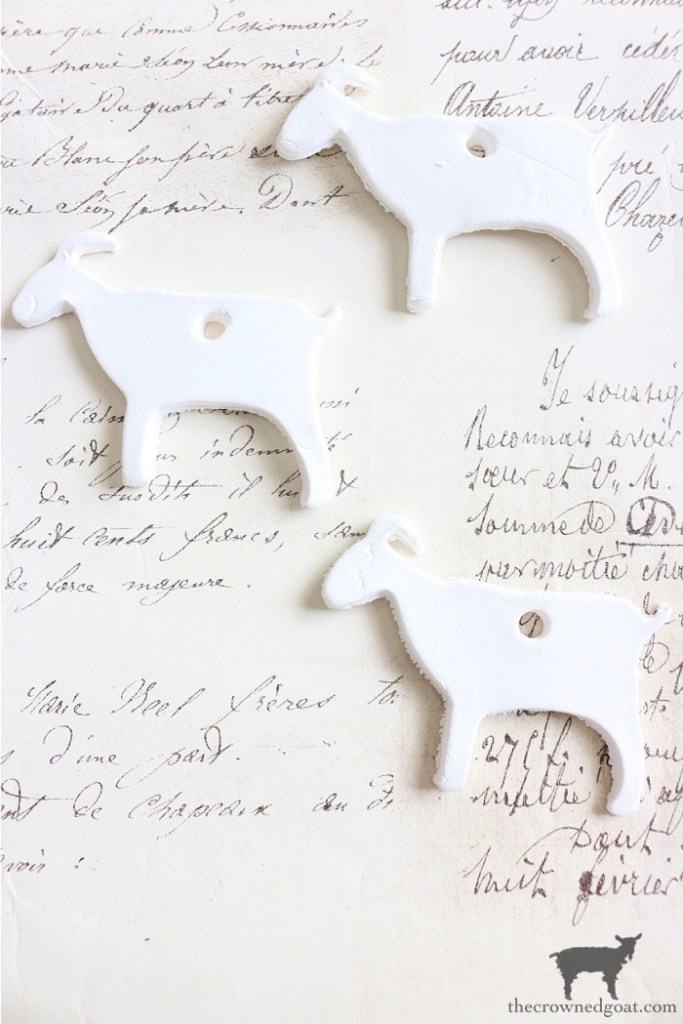
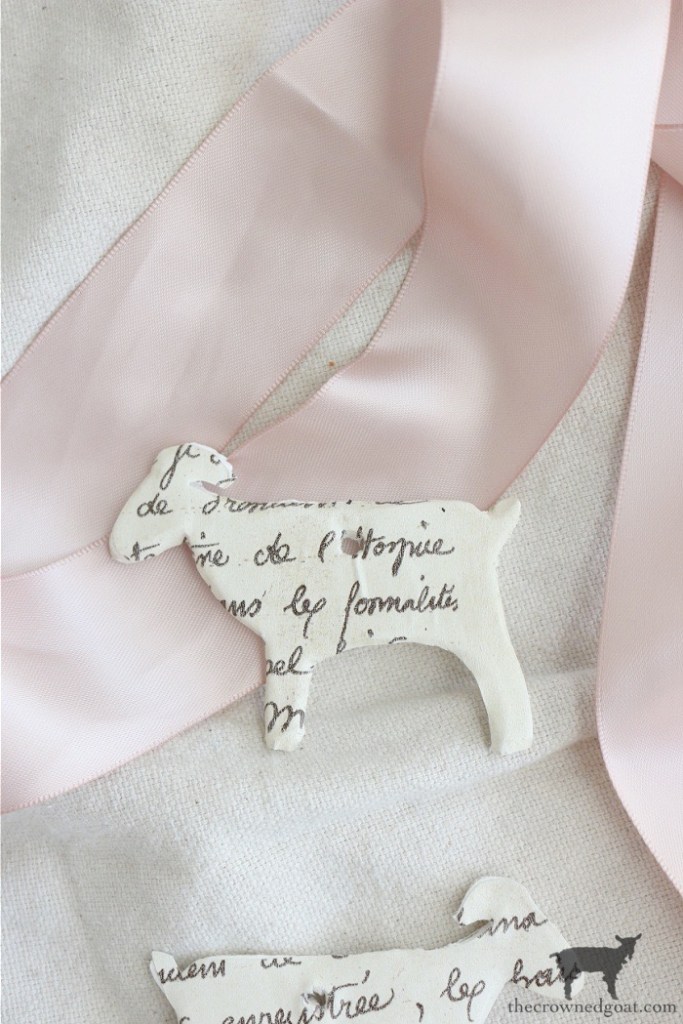
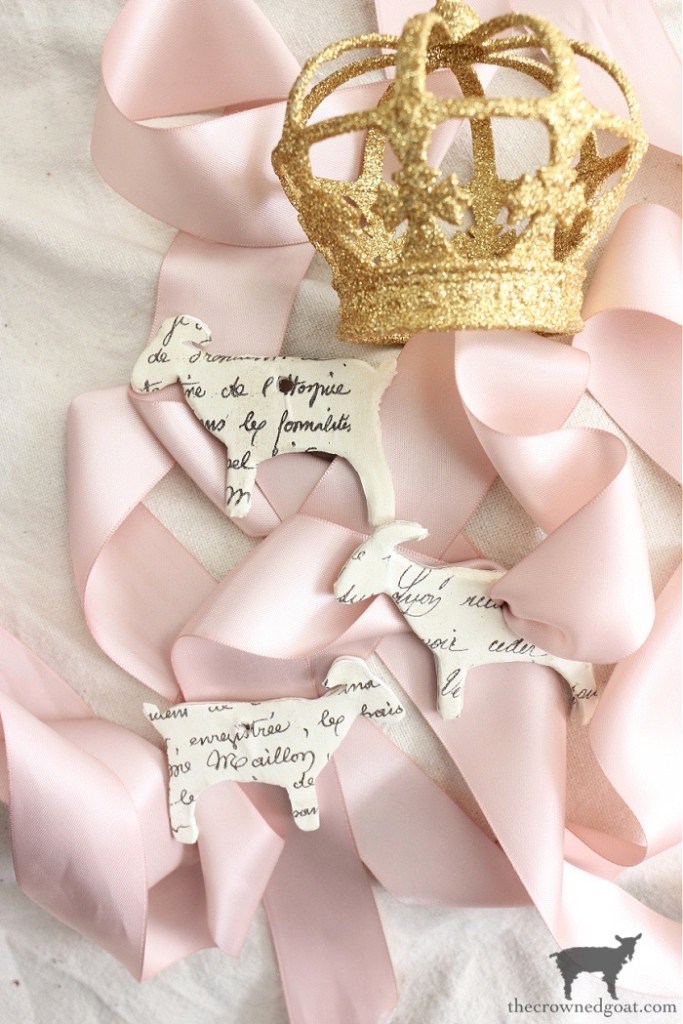
We ate so much goat cheese while we were at the retreat, I decided to surprise my Mom with these French Country Script Ornaments so every time she hung them on the tree she would think about our amazing weekend together.
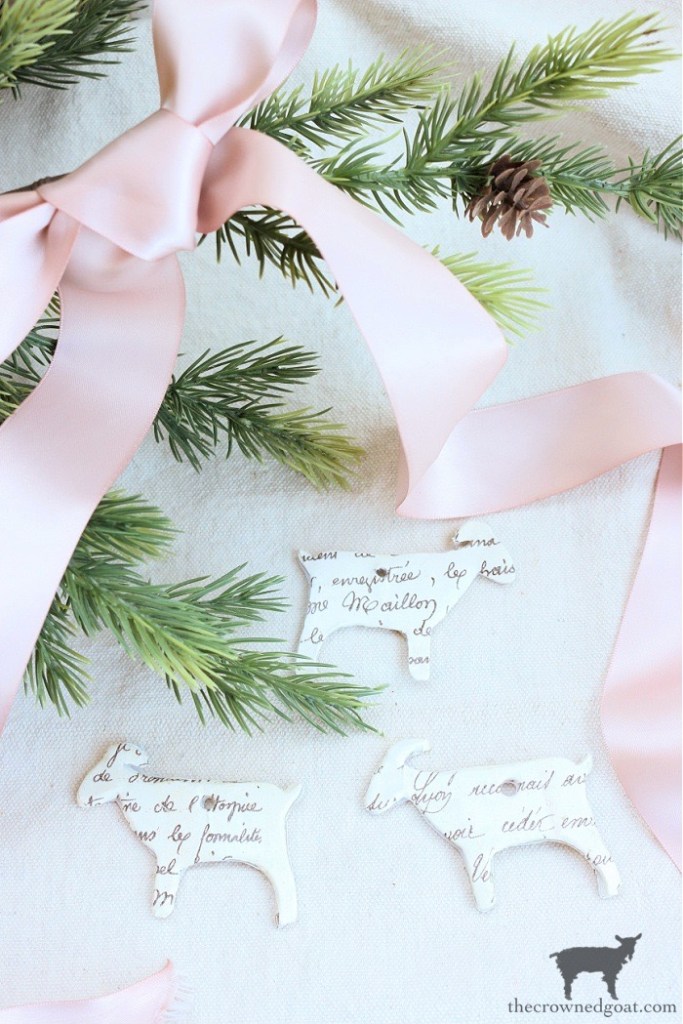
Here’s a look at how to create French Country Script Ornaments…
French Country Script Ornament Supplies:
- Air Dry Clay in White
- Goat Cookie Cutter or Christmas Cookie Cutters
- Rolling Pin
- Baking or Pie Crust Mat
- Baking Sheets
- Straw (plastic or paper straw)
- Parchment Paper
- French Script Wrapping Paper (this paper is from Ballard Designs)
- Pencil
- Scissors
- Mod Podge Glue
- Glue Brush
- Ribbon or Jute String
French Country Script Ornament Steps:
Gather your supplies and prep your work area by laying a food-safe mat on a flat smooth surface.

Tear off a chunk of air-dry clay and knead it several times until it warms up in your hand.
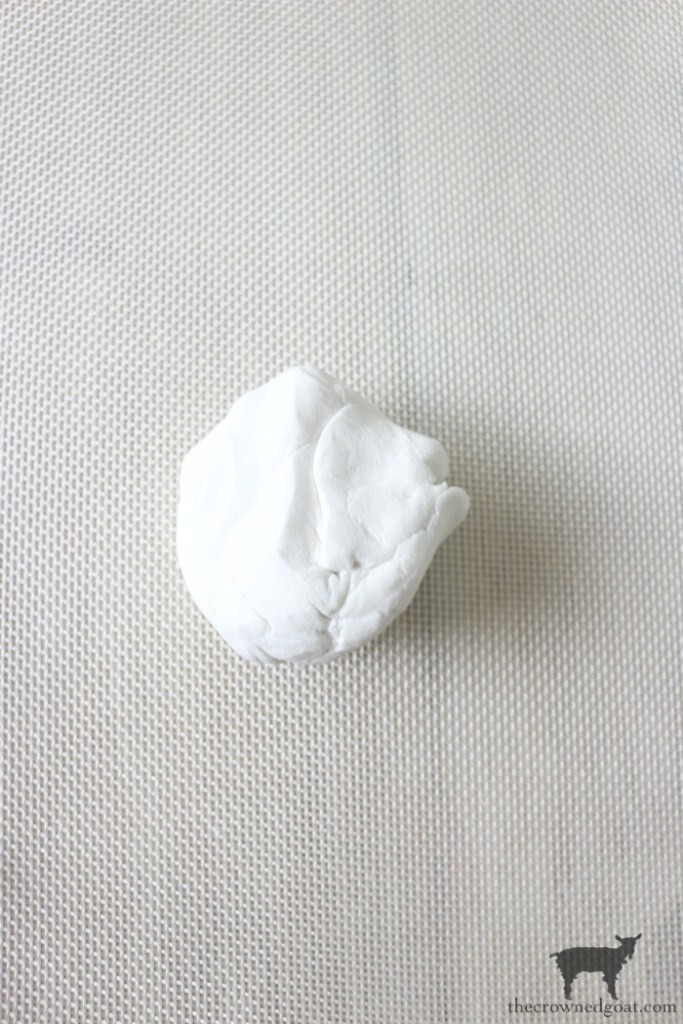
Place the clay on the mat and begin to roll it with a rolling pin like you would roll out pastry or sugar cookie dough.
Make sure to roll the clay out evenly. It should be slightly thicker than the consistency of a sugar cookie.
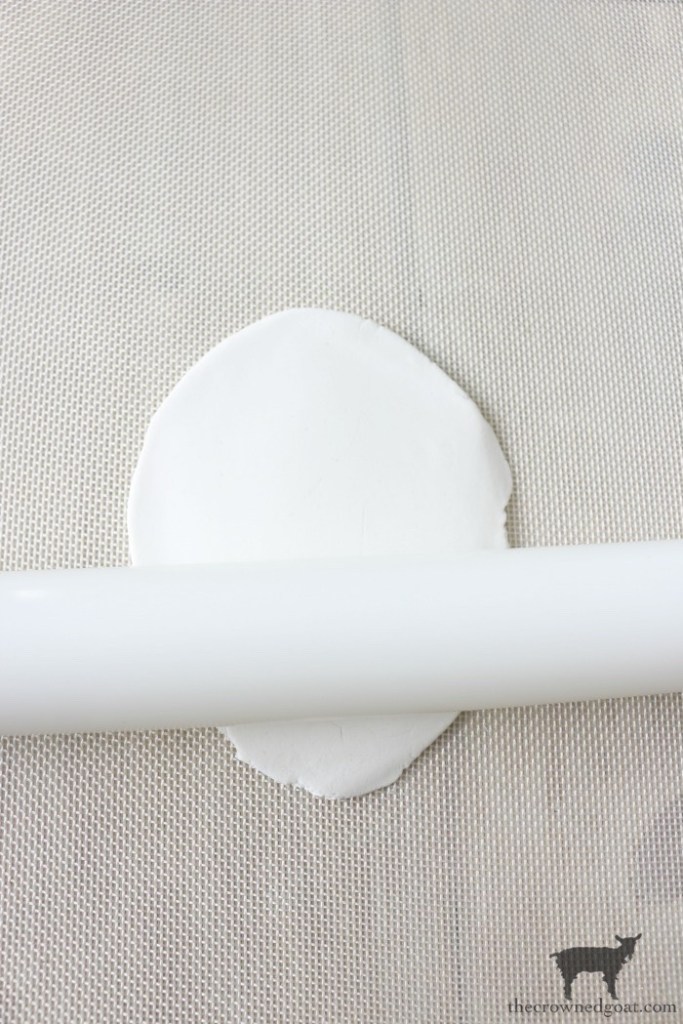
Use a cookie cutter (we used a goat-shaped cookie cutter) to make whatever shape you want.
Once you’re finished, remove any excess clay, gently pulling it away from the sides of the ornament.
Use a straw to create a hole in the top for ribbon or jute so you can hang the French script ornament from the tree or as a gift tag.
Carefully place the ornament on a baking sheet. Make sure the ornaments are laying as flat as possible.
Flip ornaments over every 30 minutes to allow each side to dry evenly. Air dry clay ornaments should dry for at least 24-72 hours.
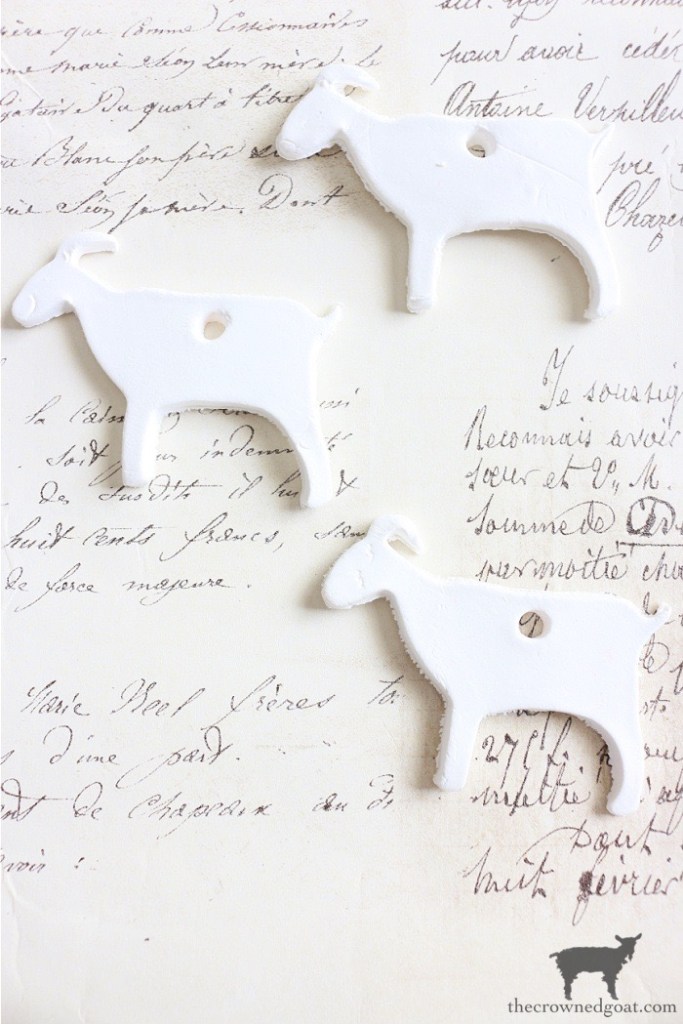
Adding French Script to Air Dry Clay Ornaments…
Once the ornament is completely dried, carefully place the ornament onto tissue, wrapping, or scrapbook paper with French script.
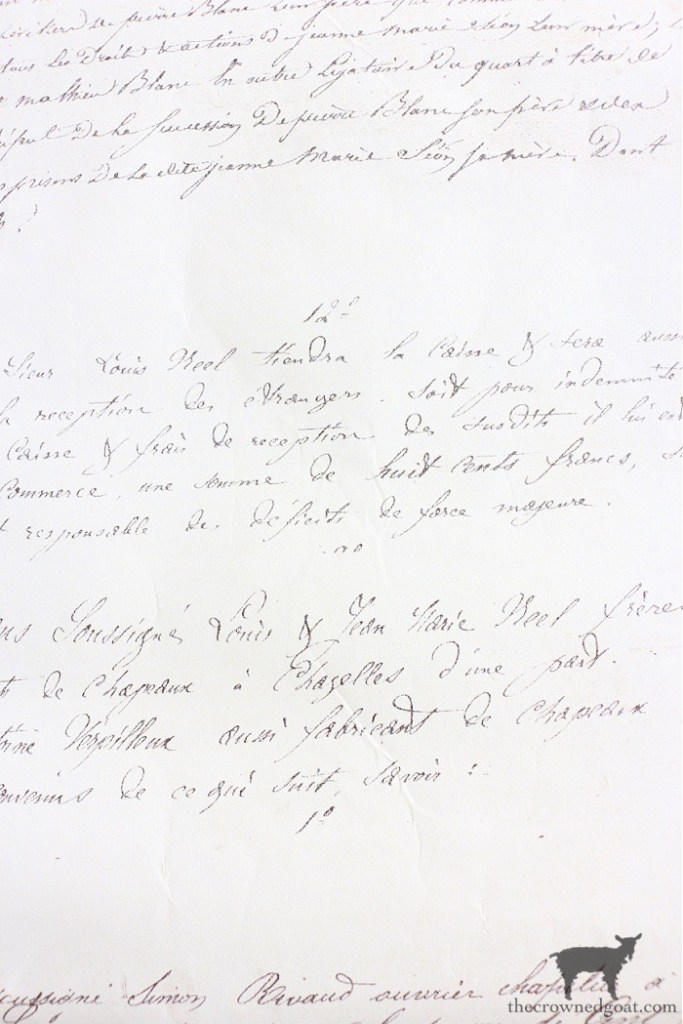
Next, use a pencil to outline the ornament.
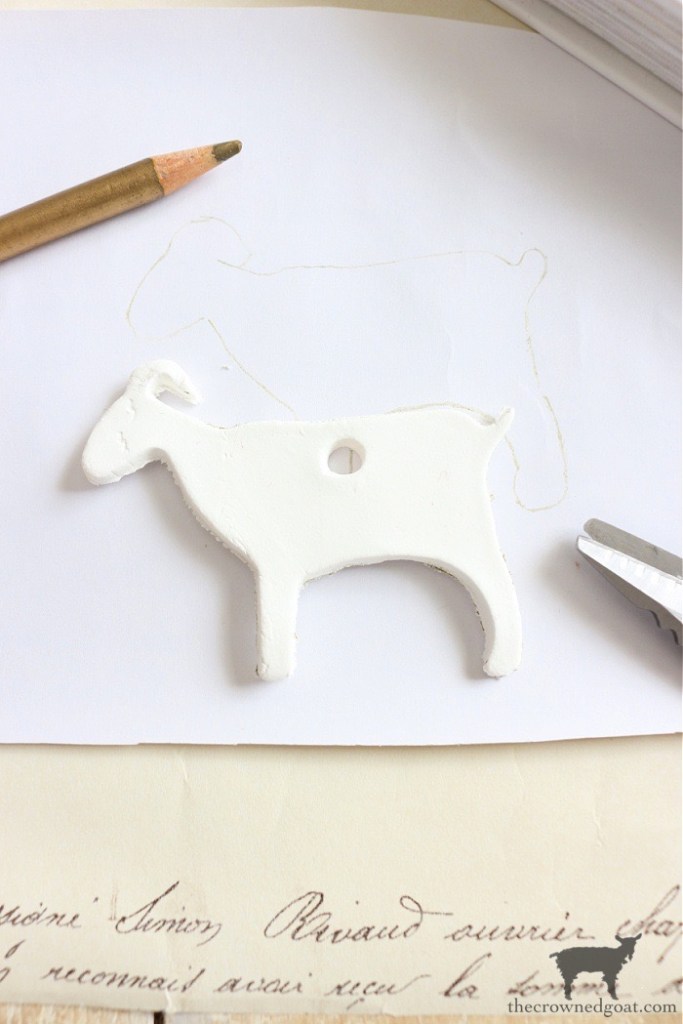
Then using caution and care as scissors will be sharp, cut around the outline.
Make sure to cut out 2 French script patterns for each ornament if you want the script to be on the front and the back.
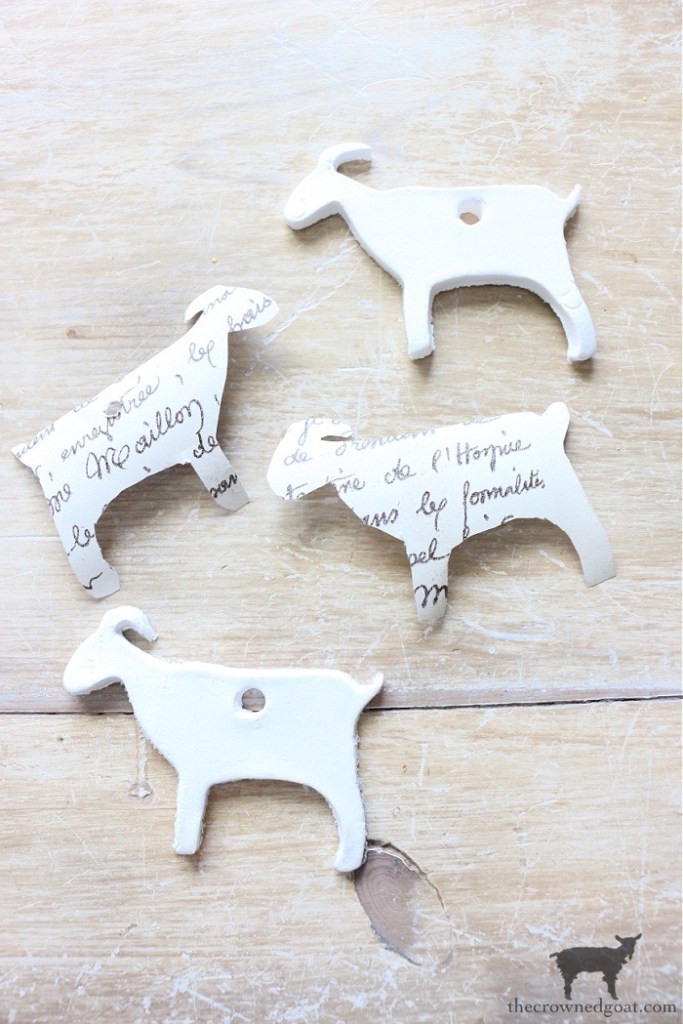
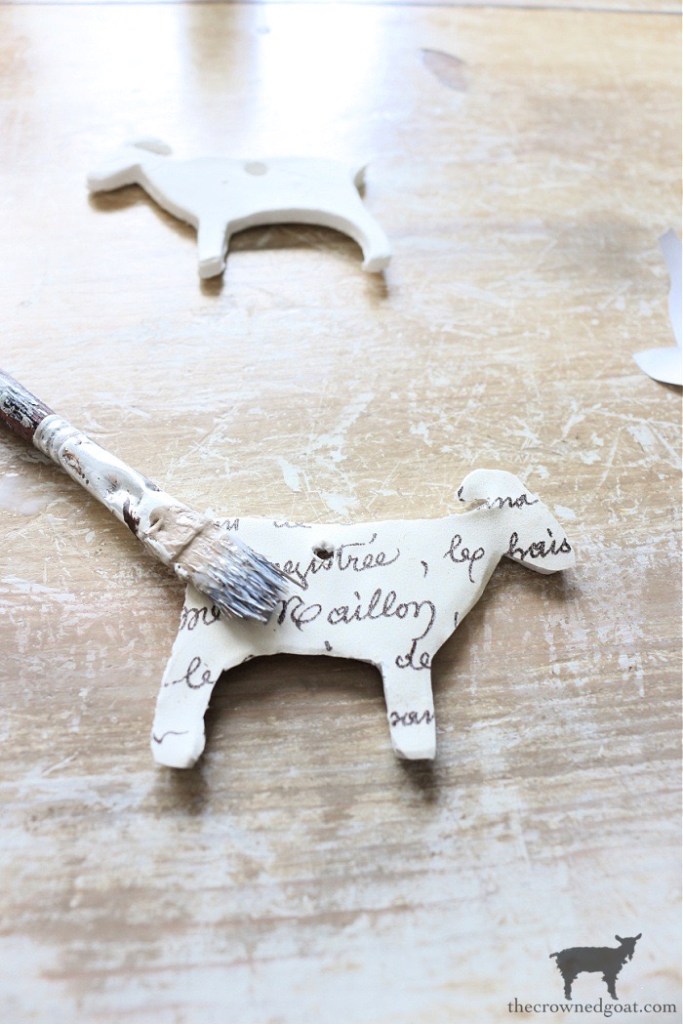
Apply glue (we used Mod Podge) to the French script paper with a brush.
Gently secure in place and add another light layer of glue.
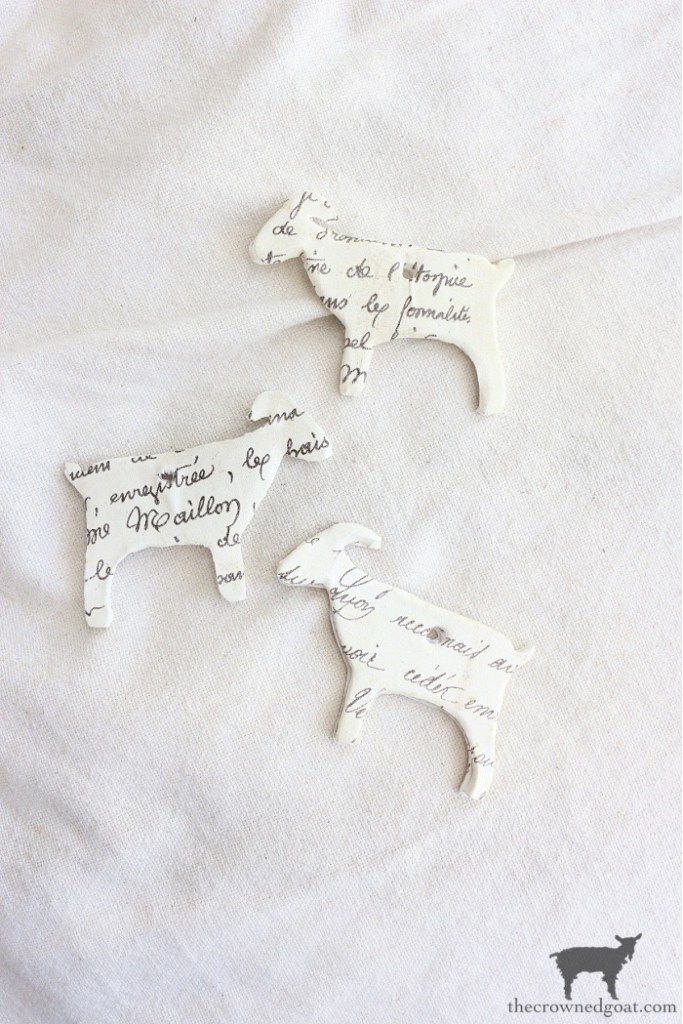
Allow the top side of your French script ornament to dry before moving on to the back.
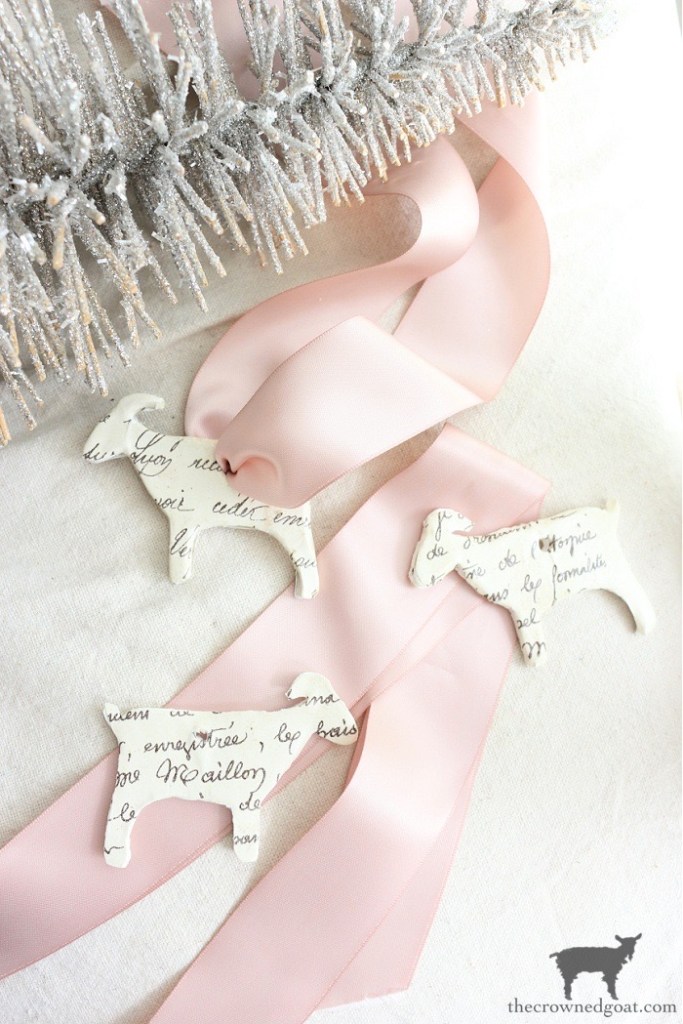
After the glue has completely dried, add a piece of ribbon or jute.
You can hang your French script ornament on the tree or use it as a gift tag to dress up your packages.
Planning Ahead for the Holidays…
I know this time of year is typically reserved for all things back to school and pumpkins.
But I can’t tell you how many times I’ve come to a special occasion during the year and wished I had taken the time to do more in advance.
So, while you’re penciling in play dates and parent-teacher conferences or revising your schedule around the grands, now is a great time to start a new Pinterest board, pop down the aisles of your local big box store or shop your favorite boutique or online business so you can begin gathering all the elements that will help make your holiday season a magical one!
Up next on the Lifestyle of Love Blog Hop, the always sweet and talented Christy of Our Southern Home. You’ll love how she incorporates farm animals into her gorgeous home decor!
Once you’re finished there be sure to check out what the rest of these fabulous ladies are sharing…
Until next time, I’ll see you on Instagram, Facebook and Pinterest.
Many blessings,
CoCo


Oh my goodness, have we really done that many LOL posts?! How fun. I need to go back and look at them. I am super-dee-duper excited about making some of these adorable ornaments! I already have everything needed. Best part is that I’m in charge of a craft for our home group ladies and this is perfect. So darling! Thank you for joining in and sharing your creativity.
It’s crazy to think about how long we’ve been together, Cindy! I think I’ve made every post with the exception of the one in June when we were at the cabin and out of town. You’ve done a great job of bringing us all together. I look forward to learning from all of you, being inspired by you, and cheering you on. Can’t wait to hear how the ladies craft group goes. Big hugs and thank you for inviting me to be a part of this group, CoCo
How fun that you hosted a creative retreat; that sounds fabulous! I’m sure your mom is going to love these goat ornaments; I hope you made some for the Christmas tree that should be in your office, too;) 😉 Always enjoy doing hops with you, CoCo!
Aww thank you, Lora, I always enjoy hops with you too. We had a great time at the retreat. My sisters both have kids and sometimes our family dinners can be loud and chaotic in the best possible way. It was really nice to be able to spend some uninterrupted time with them so we could support each other’s goals and dreams. I definitely need a blush tree with lots of goats and crowns on it – that would be a hoot! Sending you lots of hugs, CoCo
Oh I totally LOVE these, CoCo. Thanks so much for sharing the DIY, they are adorable! I really want to try making these for the Christmas season. The French script paper really makes them amazing!
Thanks so much for your sweet words, Debra! It was fun to surprise my Mom with them. We were just talking the other day about how fast summer had flown by and I know the holiday season will be here before we know it. Hope your week is filled with all good things. Big hugs, CoCo
I bet your mom loved these. What a cute idea. I have a pig cookie cutter I purchased to make “pig newtons” that this would look very nice with. I love the big satin ribbons. Angels would also be so pretty. I think I will have to make some gifts, too.
Those all sound like fabulous ideas, Jillian! It’s so nice to get a headstart on gifts, ornaments, and gift tags. I try to do as much as I can in advance so I’ll be ready for the hustle and bustle of the season. Hope your day is a blessed one, CoCo
These are just so cute and such a clever idea. I plan to share these next Sunday (I’ve already completed this weekend’s post). Thanks for so much inspiration.
That’s so sweet of you, Rachel, thank you! These ornaments were really easy to make and can be used in so many different ways. Hope your weekend was a special one, CoCo
HI, I ENJOYED YOUR TUTORIAL! I WANTED TO LET YOU KNOW THAT I CLICKED ON THE REFERAL TO “CINDY OF COUNTY ROADS 407, BUT WHEN IT TOOK ME THERE, IT SAID IT COULDN’T BE FOUND! THERE WAS A PICTURE AND THE NAME, BUT THAT WAS ALL. HAS YOUR FRIEND TAKEN DOWN HER SITE? THANKS.
Thank you so much for letting me know about this link, Terri, I really appreciate it! I think have it all fixed now and Cindy is back up and running. Hope your week is filled with all good things, CoCo
What a cute idea! Pinning this so I can try them soon! I think they’d look cute hanging up all year, too.
Thanks so much, Michelle! They are super easy to make. I swear you could use them as gift tags, garland, napkin rings, door hangers, key rings – the sky’s the limit. Hugs, CoCo
I’m thinking of possibly using these as a decorative item on Christmas packages. I love them. Thanks for sharing.
That would be so pretty, Kay! Christmas will be here before we know it. Hope you’ve had a blessed day, CoCo
These are ADORABLE!!! Wouldn’t they look cute on gifts? Or wait – attached to the Christmas stockings. Or wait – attached to cellophane bags filled with cookies.
Wait.
Now, I realize, I have a lot of work to do because – holy smokes- Christmas is just around the corner. I better get my crafting game on. Thanks for the inspiration CoCo. Seriously – how do you manage to do all this stuff???
Hi CoCo!
These ornaments are ADORABLE! I LOVE the script that you put on them and the pretty pink ribbon is so lovely. Beautiful job and so creative!
Thanks so much, Rachel, they were definitely fun to make and I think my Mom will really like them too. Hugs, CoCo