Make Your Own Heirloom Pumpkins
Today, we’ll show you how to make your own heirloom pumpkins with just a few simple steps!
Since the beginning of September, it seems like people have been in one of two camps – ready to decorate the minute the calendar turns to September 1st or waiting until it’s officially Fall. We’ve been adding touches of Fall around the house for a while now decorating the living room, the breakfast nook and that awkward space between the living room and the entry.
This is our favorite time of year to create a cozy home because there are no expectations of trying to find the perfect holiday gift, or a rush to get the house spic and span before company arrives or a need to come up with recipes picky eaters will enjoy.
Fall is a season to welcome change and new adventures.
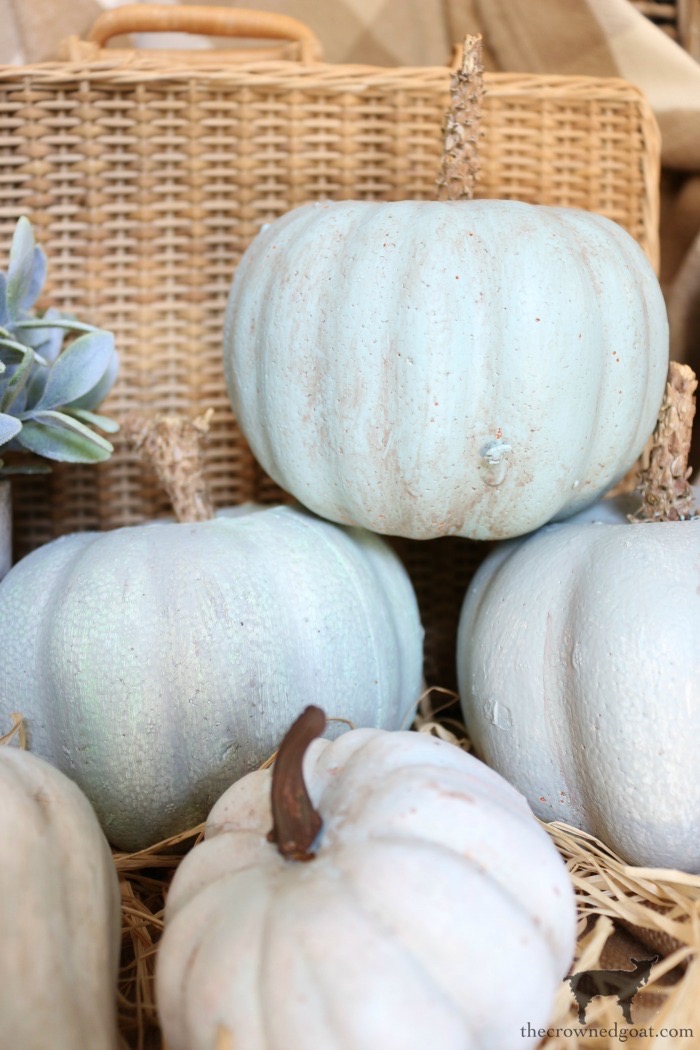
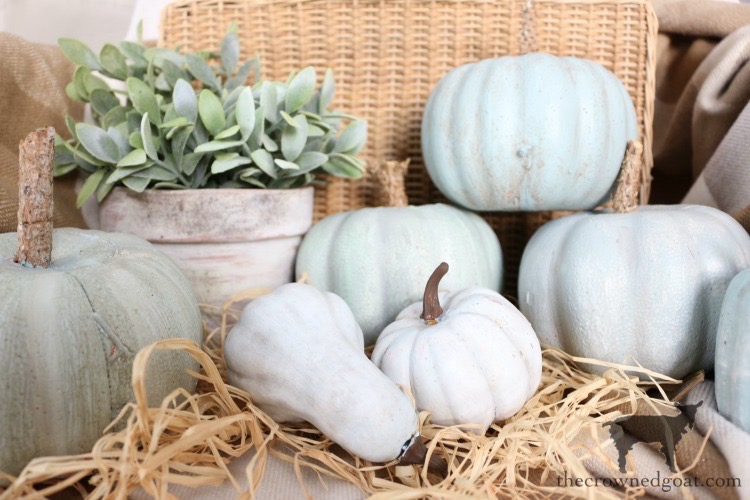
Soft greens, blues and grays have played a big role in our seasonal color palette as we love neutrals and muted colors overall. Heirloom Pumpkins, especially Jarrahdale Pumpkins are perfect because they’re a beautiful blueish, greenish color with a slight haze of gray.
We’ve been on the hunt (someone would probably say an obsessive hunt ha ha) for these fabulous pumpkins even searching at multiple grocery stores, the farmers market and a few big box stores too.
After not being able to find anything but bright orange carving pumpkins (which we also love) we’ve decided to make our own Heirloom Pumpkins until (fingers crossed) they finally arrive.

Here’s a look at how your can create your own Heirloom Pumpkins too…
DIY Heirloom Pumpkins Supplies:
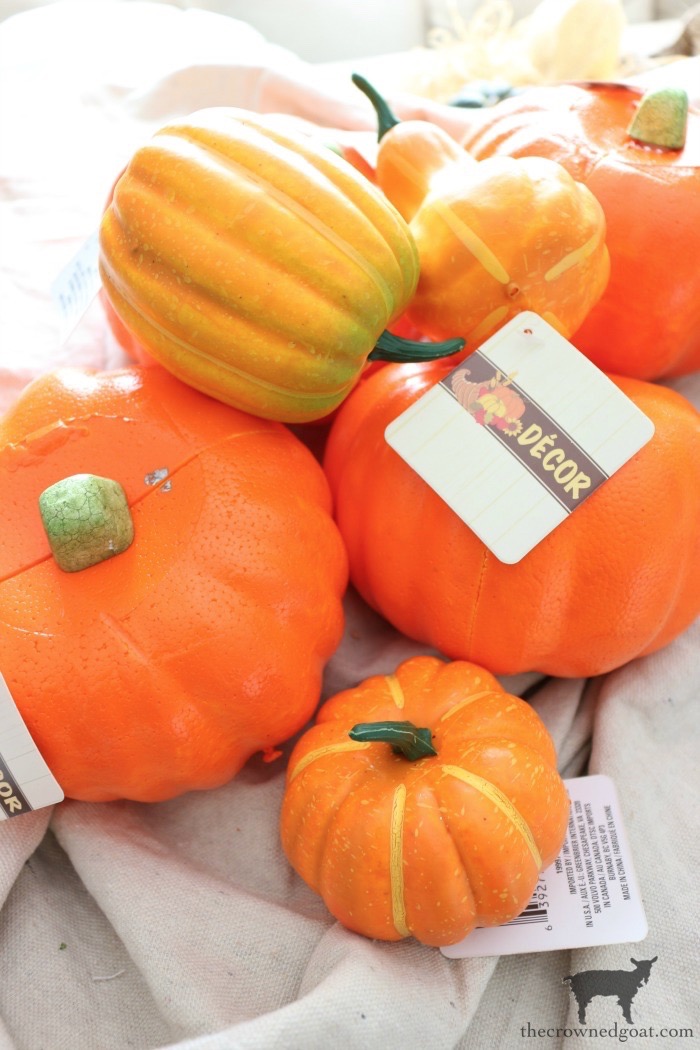
Faux pumpkins and/or gourds
Various shades of paint in blue, green, gray, white, cream and brown
Chip brushes
Detail art brushes
Tarp
Paper towels or old cloth
Cup of water (optional)
Paper plate (optional)
DIY Heirloom Pumpkins Steps:
Step #1
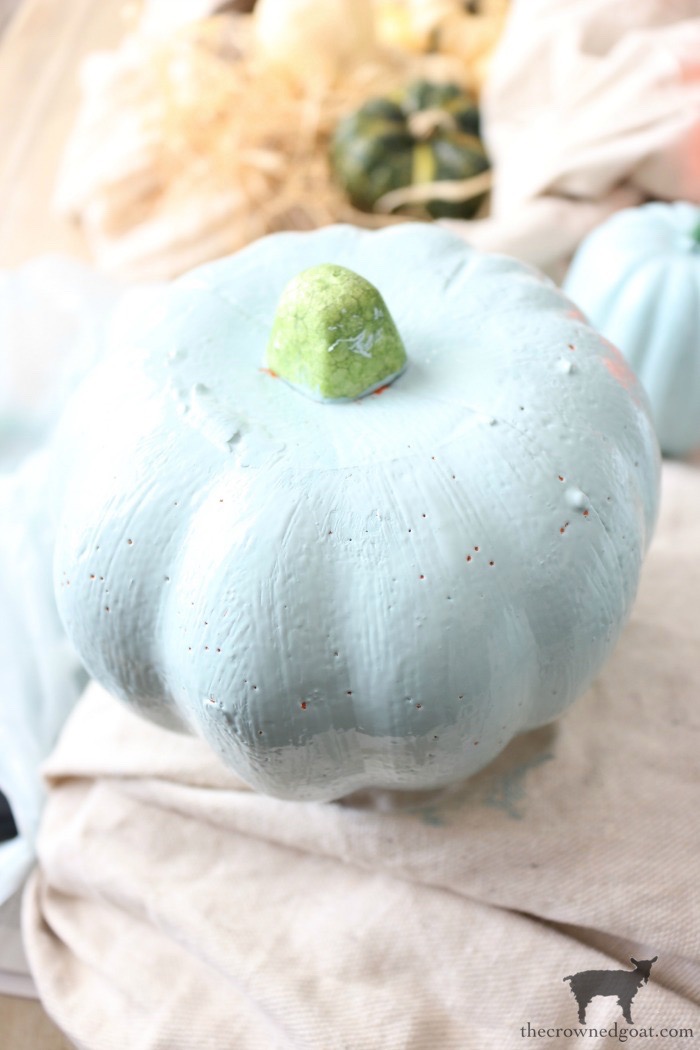
Paint a base coat onto your pumpkins and gourds. We picked these up at The Dollar Tree and used samples of latex paint we had on hand already in Valspar’s Atlantic Gray and Blue Haze.

We used two coats and allowed the paint to dry overnight – don’t rush this step!
Step #2
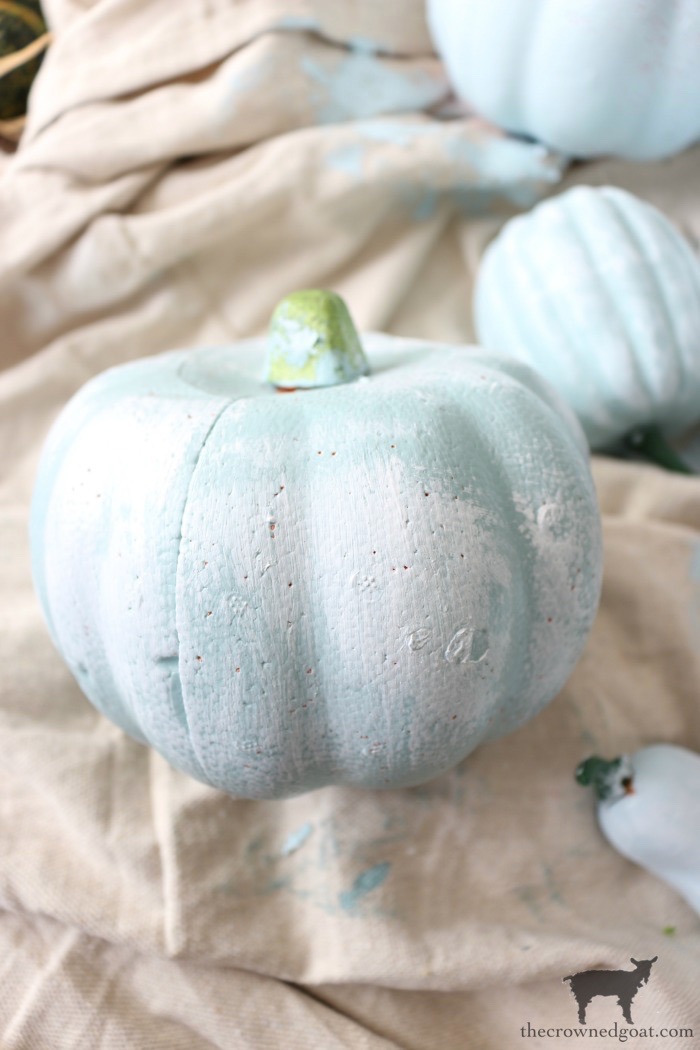
Dry brush several strokes of white or cream on your pumpkin and allow to dry completely. This will help you build up some layers.
Step #3
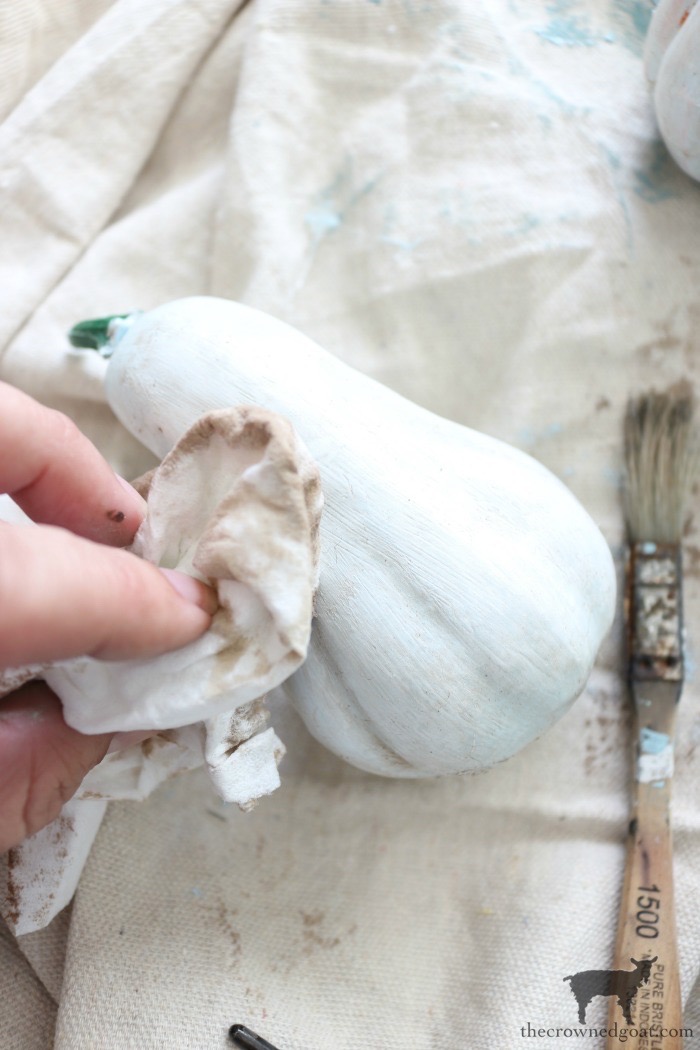
Next dry brush another color onto your pumpkin, wait just a few minutes…

and then wipe off any excess with an old cloth or a paper towel.
Step #4
Then add a light (watered down) coat of brown or gray to give your pumpkin or gourd some age. You could also use a watered-down coat of white or cream if you want your pumpkin to have that pretty haze or waxy look.
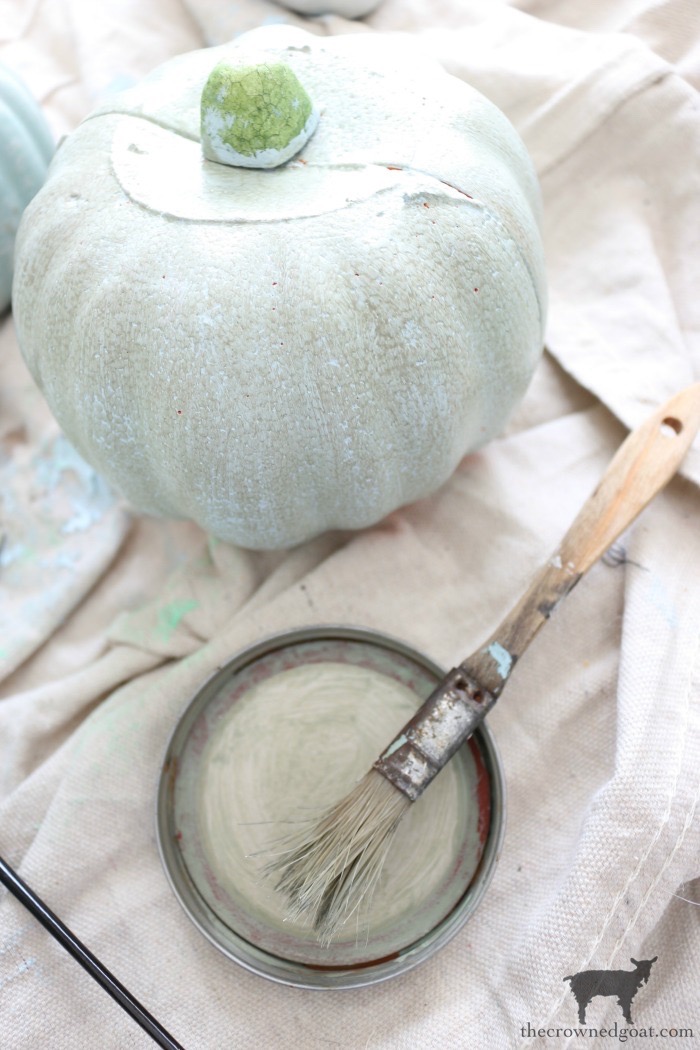
Step #5
Now if you want to take it a step further you can use a detail brush and lightly paint in between the ridges of the pumpkin. Again, if you want age or dirt you’ll use brown. If you want to go for a soft waxy feel you’ll use cream or white paint.
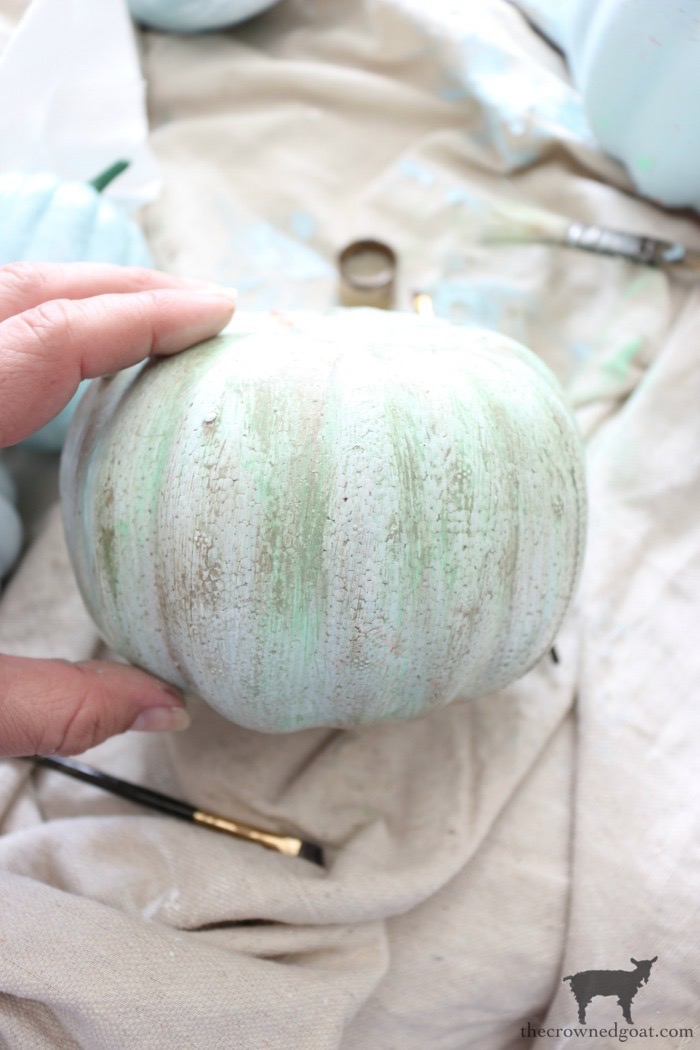
Be sure to rub whichever paint you choose into the ridges of the pumpkin or gourd to make it look more natural.
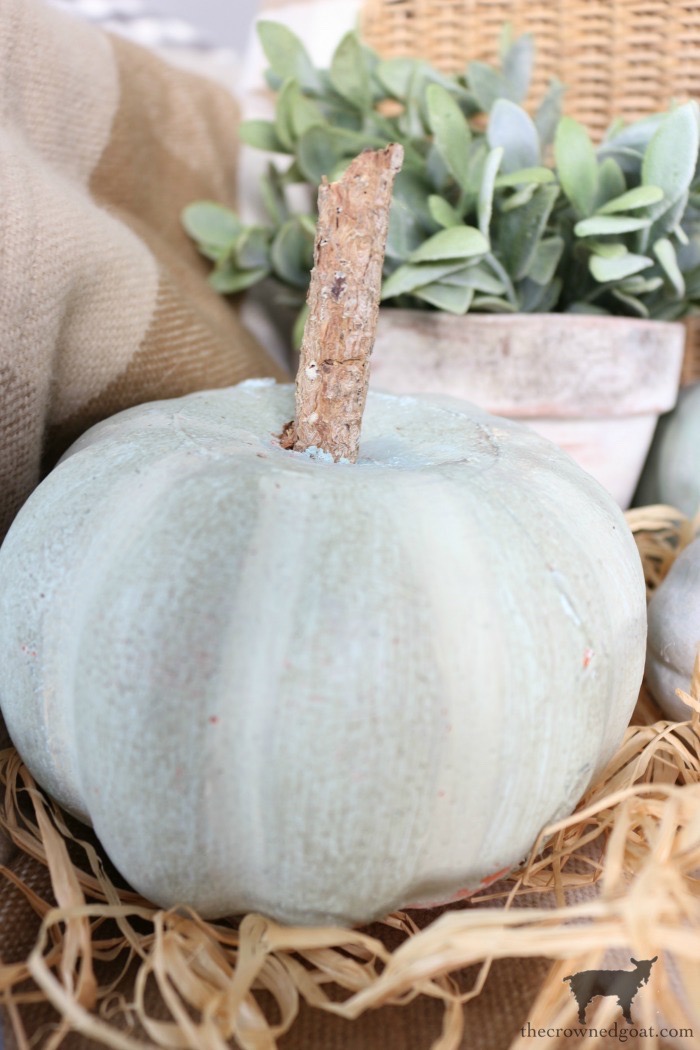
It might take a couple of tries to get the Heirloom Pumpkin look you’re after. It might even be easier for you to mix up a few colors and try it out until you find which one you like best. We’re totally in the perfectly imperfect camp when it comes to projects like these.
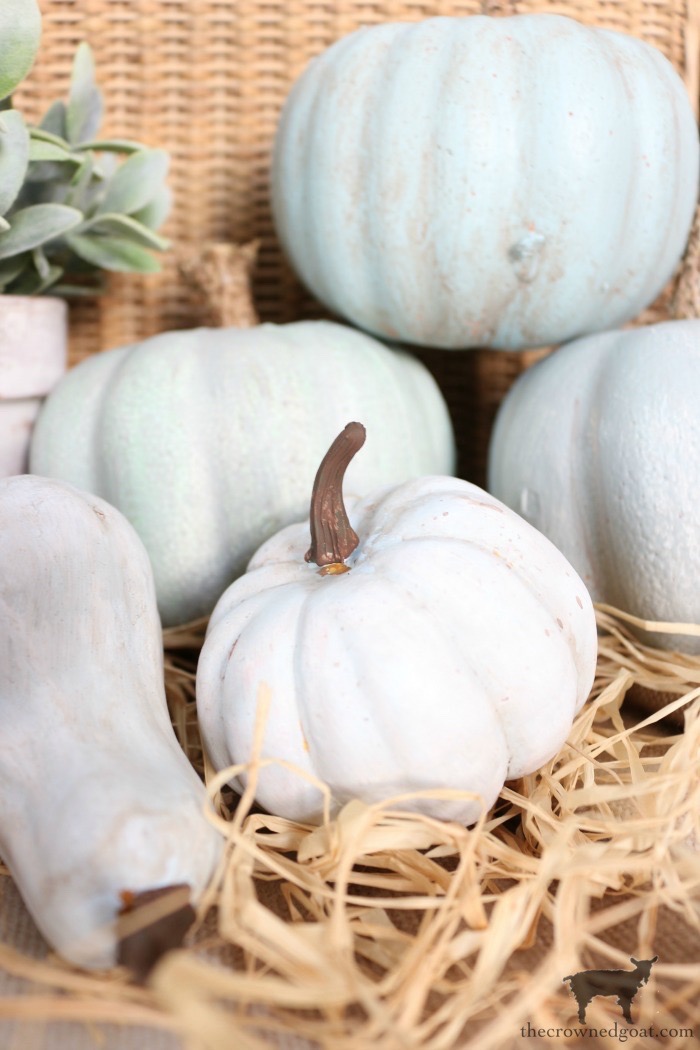
Creating the Perfect Pumpkin “Stem”
I’m almost embarrassed to say I didn’t know pumpkin stems were “a thing” until last year when I saw people on social media getting excited whenever they found a pumpkin with “a perfect stem.” I just sort of picked up whatever size I liked best and went on about my business. Now I know looking for a pumpkin with a great stem adds character to each pumpkin.
So, with that in mind, if your Heirloom Pumpkin or gourd is plastic you can paint the stem with brown craft paint and you’re good to go. If you’re pumpkin is Styrofoam like ours you’ll need to create a stem of your own.
I found these sticks from around our property and soaked them in a mix of bleach and water. Then I left them out in the sun to completely dry out. You have to make sure you’ve gotten rid of any critters that are commonly found in wood before you bring them inside.
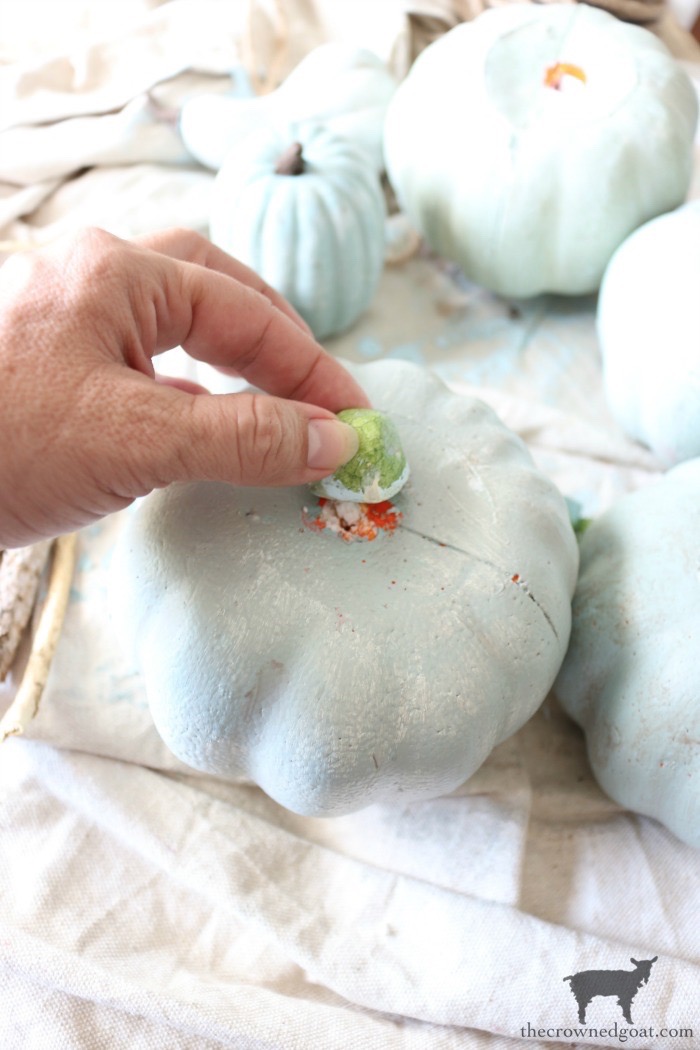
Simply pop the existing Styrofoam pumpkin top off and insert your freshly cleaned wood stick.

These Heirloom Pumpkins couldn’t be easier to make. After the initial drying time, it probably took all of 20 minutes to create this entire lot!
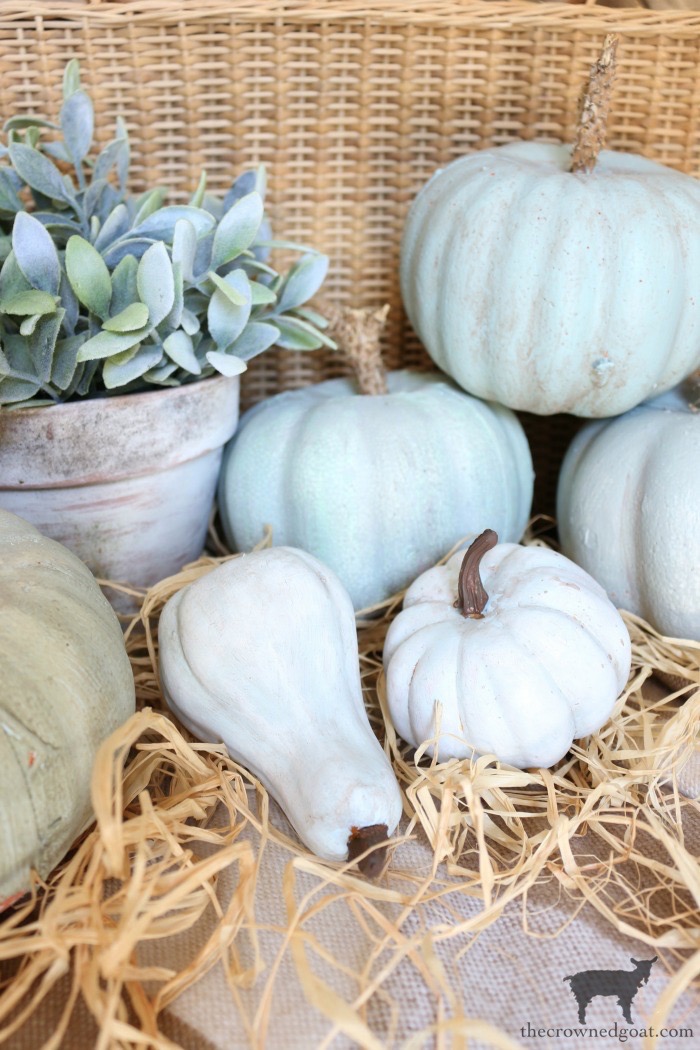
I’ll still be on the lookout for the real thing but until then, I’m going to enjoy this DIY version all season long.

To see more of how we used these easy DIY heirloom pumpkins, you see how we welcomed Fall on our back patio here. Until next time, I’ll see you on Instagram, Facebook and Pinterest.
Many blessings,
CoCo


These look like the real thing Coco. No heirloom pumpkins in our neck of the woods either. I was actually looking for peach. Good to know I can make my own. Thanks for the great tips.
I don’t know what is going on with the pumpkins this year Sarah! All my friends that live “up north” seem to have them no problem. If I find any I’ll let you know. Maybe we all just need to head to the pumpkin patch. Hugs and happy hunting, CoCo
CoCo – this is a perfect solution to the elusive heirloom pumpkins! We don’t know what it is – but they are NOWHERE to be found in our neck of the woods! They are definitely everywhere else it seems but not here. Even bright orange pumpkins have more than doubled in prices this year. Thanks for sharing a great idea. Much love.
I know you guy, I can’t get over it! The heirloom pumpkins are like unicorns this year. I swear they were all over the place last year. I’m still on the look out so I’ll let you know if I find anything. Keep me posted on how your search is going too. Hugs, CoCo
These are beautiful, Coco, they look just like real heirloom pumpkins!
Thanks so much Bonnie! I’m pretty sure it’s all in how you add “the dirt” he h. Good luck with your painting. Hugs, CoCo